BLUF: The Apache transparent barrier, NSN 1680-01-161-1182, scratches easily, but you can protect it with a self-made protective shield.
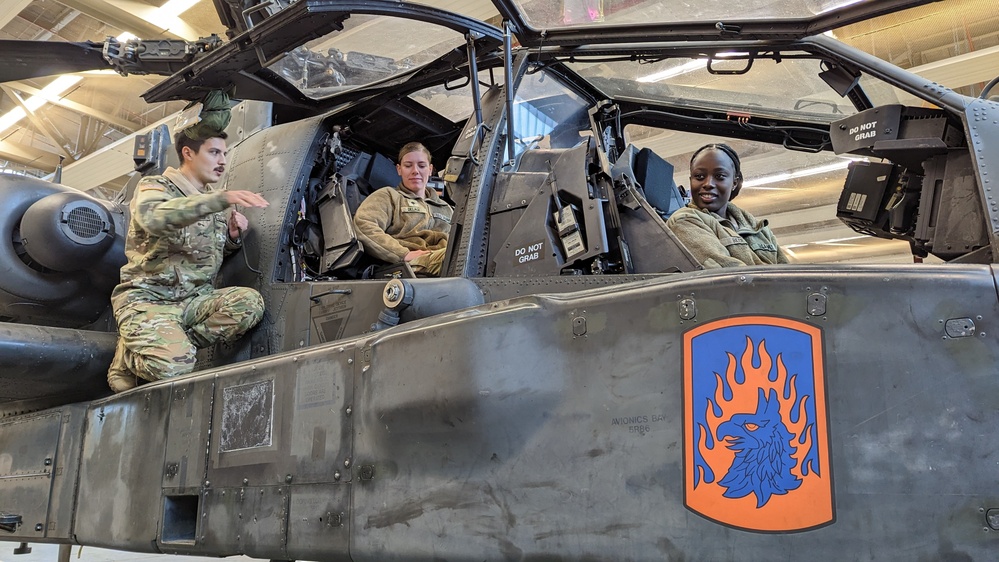
 Photo by Maj. Avery Schneider
This article initially appeared in PS 776 (Jul 17)
Mechanics, when it’s time to remove or install the Apache’s armor transparent barrier, NSN 1680-01-161-1182, avoiding damage isn’t easy!
The barrier, which is located between the pilot’s seat and the co-pilot gunners front seat, often gets scratched by tools.
 A scratched barrier has to be replaced because it affects pilot visibility
A new barrier costs $7921.87 and requires two mechanics and about 16 hours to replace, so your unit takes a big hit. On top of that, the damage becomes a class D recordable incident because it exceeds $5,000.
A transparent barrier fresh out of the box come with a protective film that protects it during installation. But for future removal and installation or when performing maintenance around the transparent barrier, use extreme caution.
If you want to play is safe, here’s a voluntary option to make a temporary protective shield for the transparent barrier:
What You’ll Need
It’ll take one mechanic about two hours to construct the protective cover. Here’s what you'll need:
- Transparent barrier, NSN 1680-01-161-1182
- Plastic sheeting, NSN 9330-01-314-8346
- Heavy duty scissors for large cutting job such as “Fiskers” type scissors you can pick up at any big box store.
- A marker to outline the cutting area on plastic sheeting and label the cut sheets.
 Two of the tools you'll need: heavy-duty scissors and a marker
Instructions
- Place the transparent barrier on a level surface.
2. Place the plastic sheeting over the transparent barrier.
3. Using a marker, trace an outline of the transparent barrier onto the plastic sheeting. Repeat this step for the back side of the transparent barrier.
4. Using heavy duty scissors, cut along the outline of the plastic sheeting.
NOTE: Markings and cuts do not have to be precise for this step since you will have to form fit the covers in the aircraft.
5. Place both sides of the protective covering in the aircraft cockpit. Use the marker to mark the areas of the plastic sheet that need to be trimmed to allow easy placement over the transparent barrier once it's installed in the aircraft.
6. Trim the plastic sheeting. When finished, the new protective covers with their safety and identification markings will look like this:
When finished, the new protective covers with their safety and identification markings will look like this:
NOTE: To aid in identification and placement, mark the plastic covering to indicate the front and back sides of the cover and the left and right side of the cockpit.