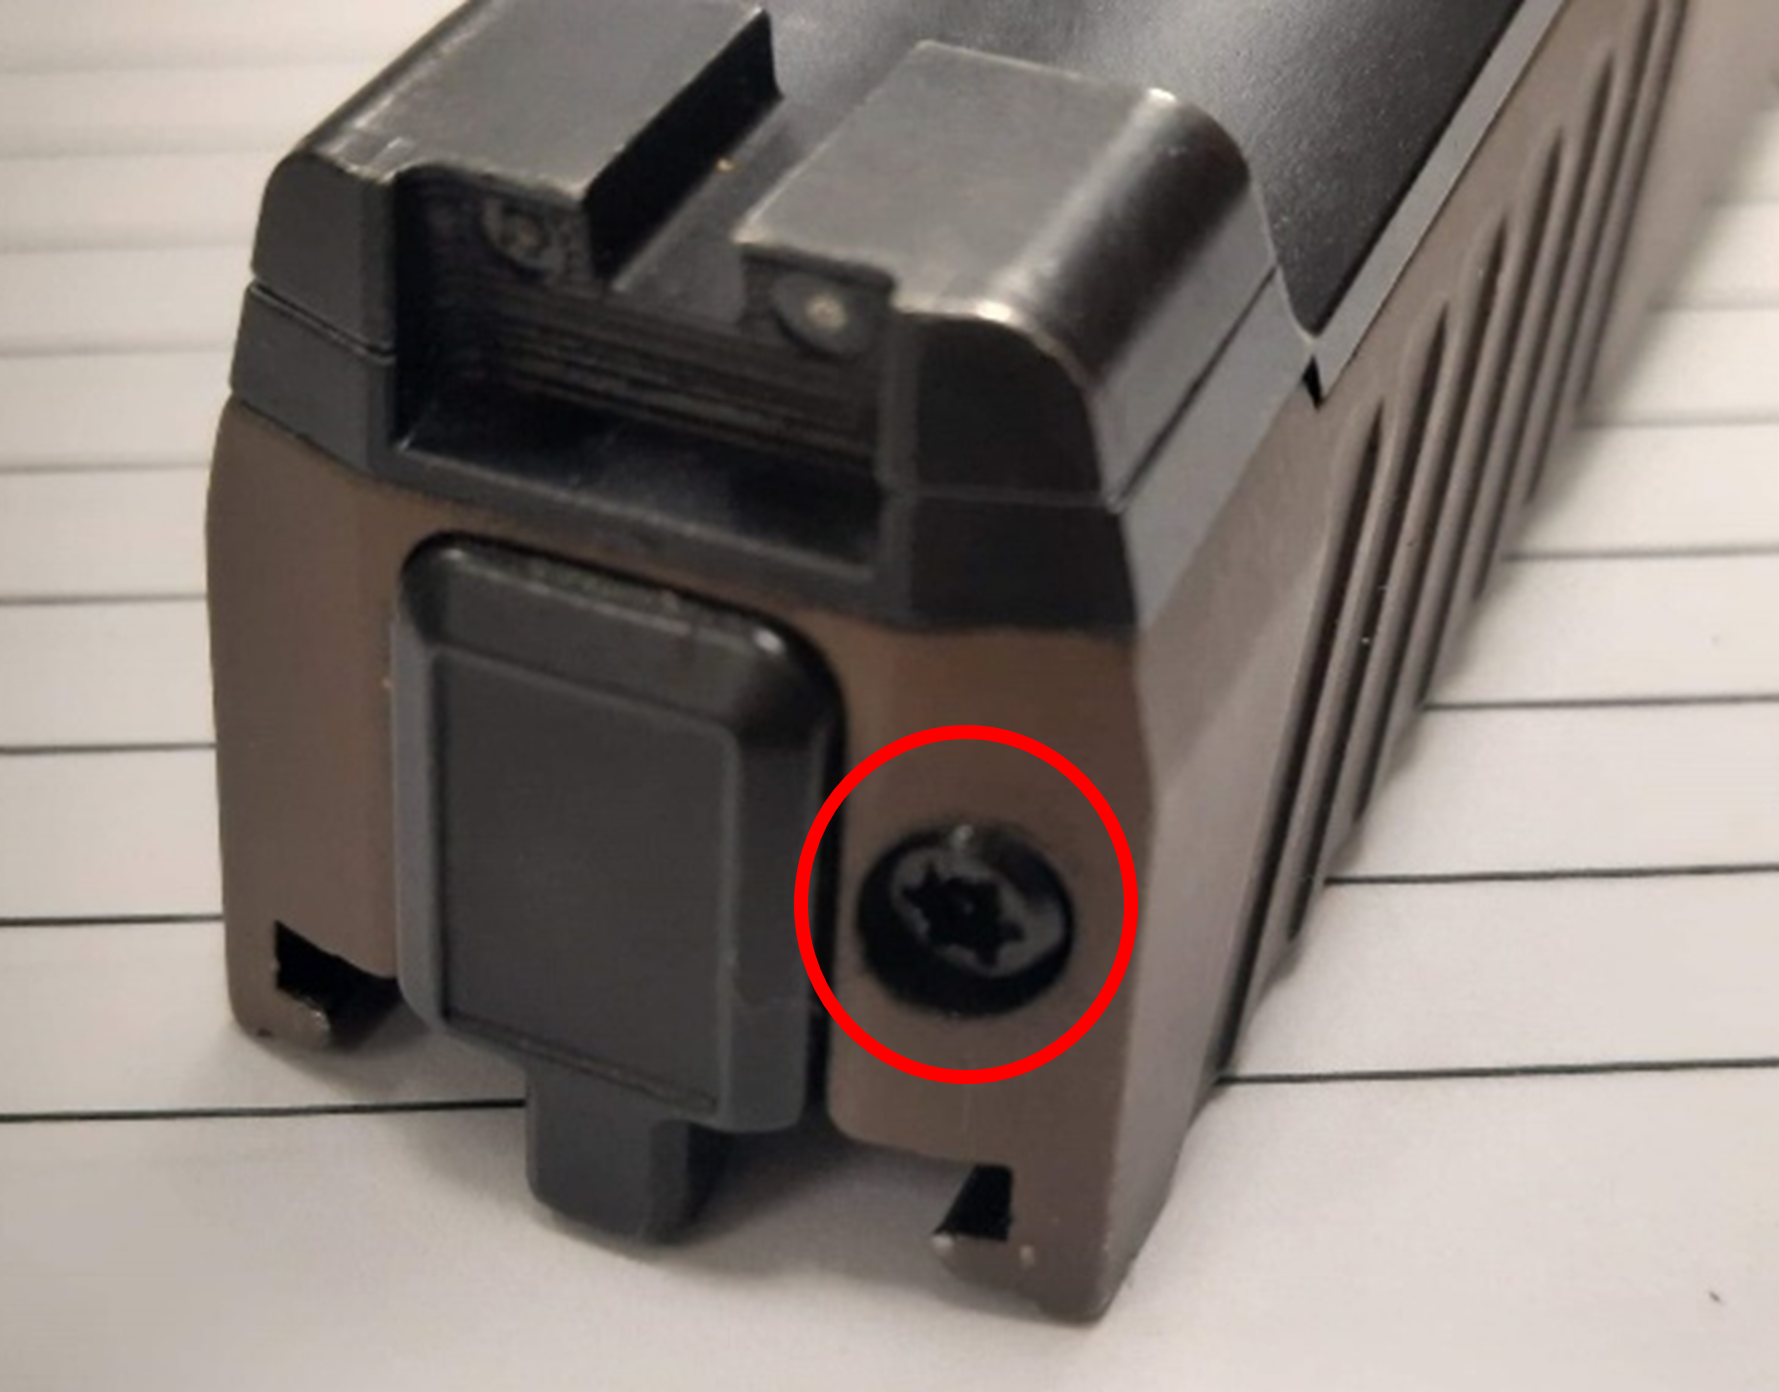
BLUF: To avoid damaging the M17/M18 MHS extractor tension pin, follow the procedures in WP 0010-9 of TM 9-1005-470-23&P (Jun 19).
Dear Editor,
Here at Ft Leonard Wood, we’ve noticed a lot of M17/M18 MHS extractor tension pins with damage. This is possibly from the armorer working on the slide or the Soldier cleaning the weapon and not putting it back together properly.
It’s important to note that
removing the extractor is a 91F task, not operator level.
Damaged extractor tension pin
To prevent this type of damage, a 91F must follow these instructions:
- After the extractor has been inserted into the slide, insert the extractor tension pin into the hole at the rear of the slide.
NOTE: When installing the extractor tension pin, the flat side must go into the hole first, causing it to face the striker assembly. Failing to do so could prevent the pistol from functioning properly.
Flat side goes into hole at rear of slide first, facing striker assembly
- If inserted correctly, then the extractor pin assembly should fit right into the notch of the extractor and lock together (as shown in the image above).
- Push the extractor tension pin into the slide fully and turn the hex pin 180 degrees in either direction until it snaps into place.
 Correctly installed extractor tension pin; recessed in the slide
Incorrectly installed extractor tension pin; protrudes from the slide
You can tell the extractor tension pin is
correctly installed because it’s recessed into the rear of the slide. If it pokes out from the rear of the slide, then you’ve installed it
incorrectly.
After maintenance on the pistol, perform the slide function test. This includes checking the extractor for proper tension and seating. See WP 10 of TM 9-1005-470-23&P (Jun 19) for instructions.
Fred Fanning II
Mark Haggith
Ft Leonard Wood, MO
Editor’s note: We love to hear the voices of experience. Remember, only 91Fs can remove the extractor tension pin.