One sound you never want to hear while in a firefight or qualifying at the live-fire range is a “click” instead of a “bang.”
That “click” sound means something is wrong with your Stryker’s remote weapon station (RWS)! But by properly maintaining the RWS, you can stay in the fight while saving money, time and effort.
Here are some tips for both operators and maintainers that’ll help keep the RWS working the way it should:
PMCS Tips
Proper PMCS is a must. Follow ALL the checks in TM 9-2355-311-13&P (Sep 16). Each check for the RWS is there for a reason. If a part is missing or something isn’t connected, the RWS won’t work properly.
Operating Tips
What special tools are needed for mounting a weapon to the RWS? A hammer or maybe even a pry bar? No and no again! Manpower is the right answer. If you need a tool to install a weapon, something’s wrong and field maintenance should be notified.
If the rear weapon mount pins aren’t installed correctly, they’ll stick out too far. Then the pins will bend when you put the RWS at maximum elevation and that could make it hard to remove the weapon. Follow the guidance in TM 9-2355-311-13&P for proper weapon installation.
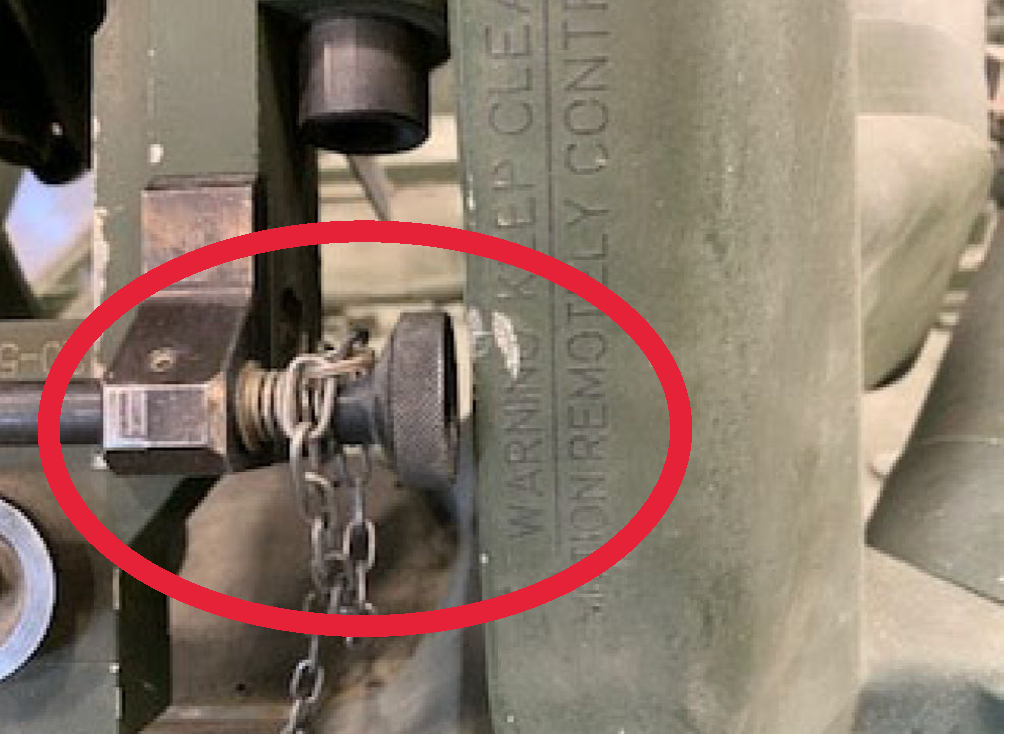 Properly installed rear weapon mount pin
Keep in mind that you can’t order the pin set. You have to order the pins for the M2 and MK19 separately:
| Model |
NSN |
| M2 |
5315-25-150-6481 |
| MK19 |
5315-25-150-6182 |
When you’re manually operating (free gunning) the RWS, re-engage the elevation and azimuth clutch handles. If you don’t, the next operator who powers up the RWS might not know that the clutches are released. When that operator grabs the control grip, the FCU screen will display a “servo runaway fault” and the RWS won’t work.
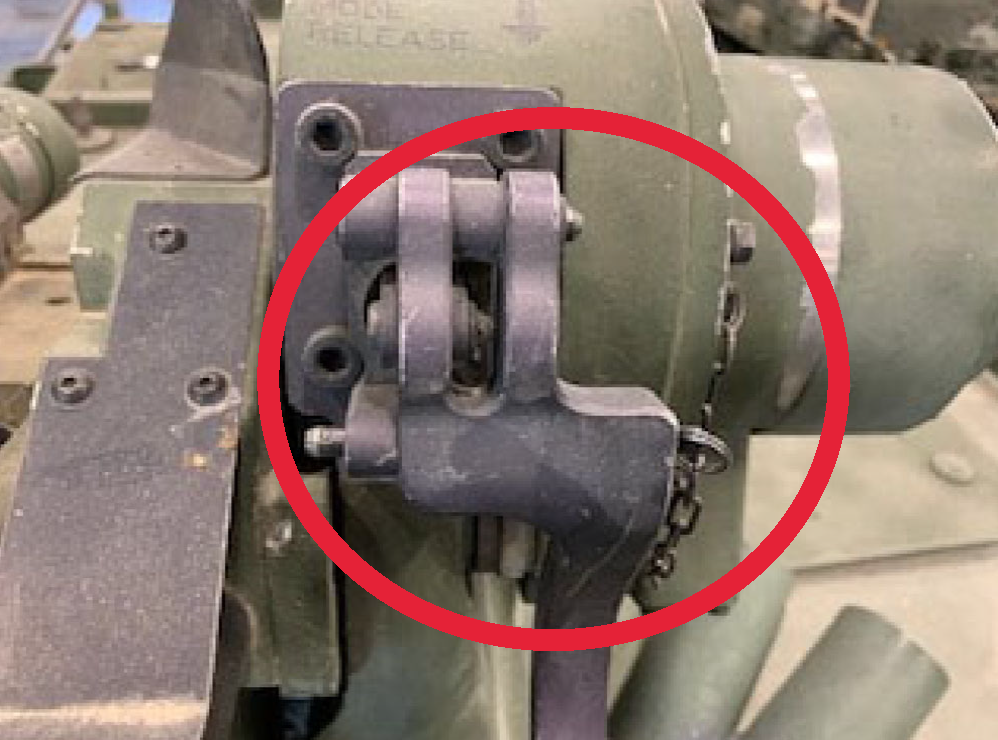 Elevation clutch engaged
 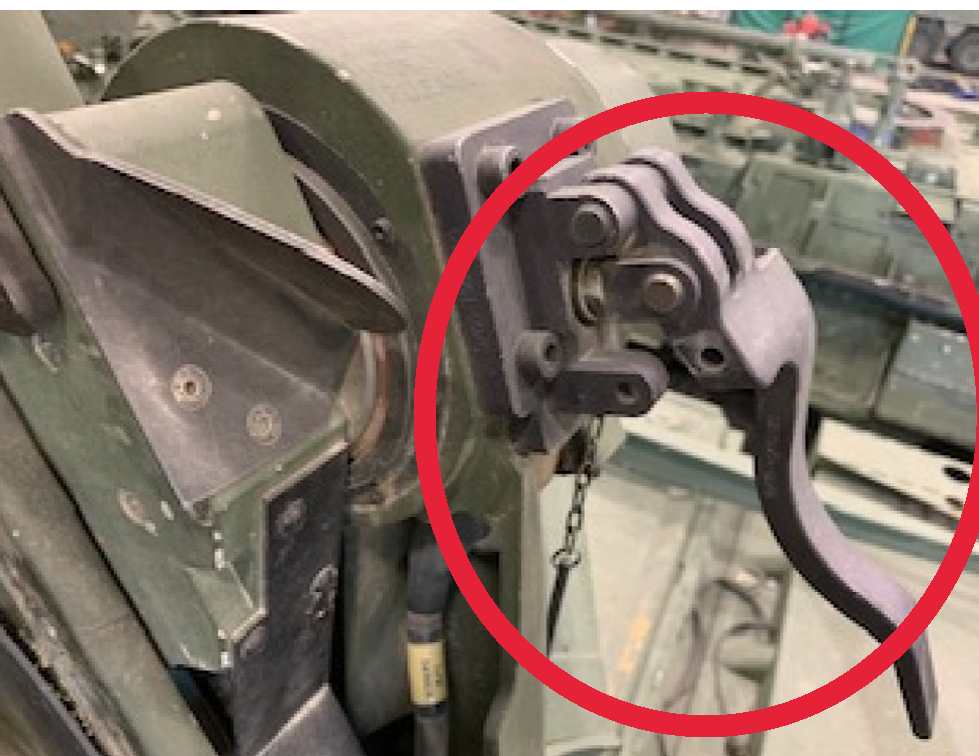 Elevation clutch disengaged
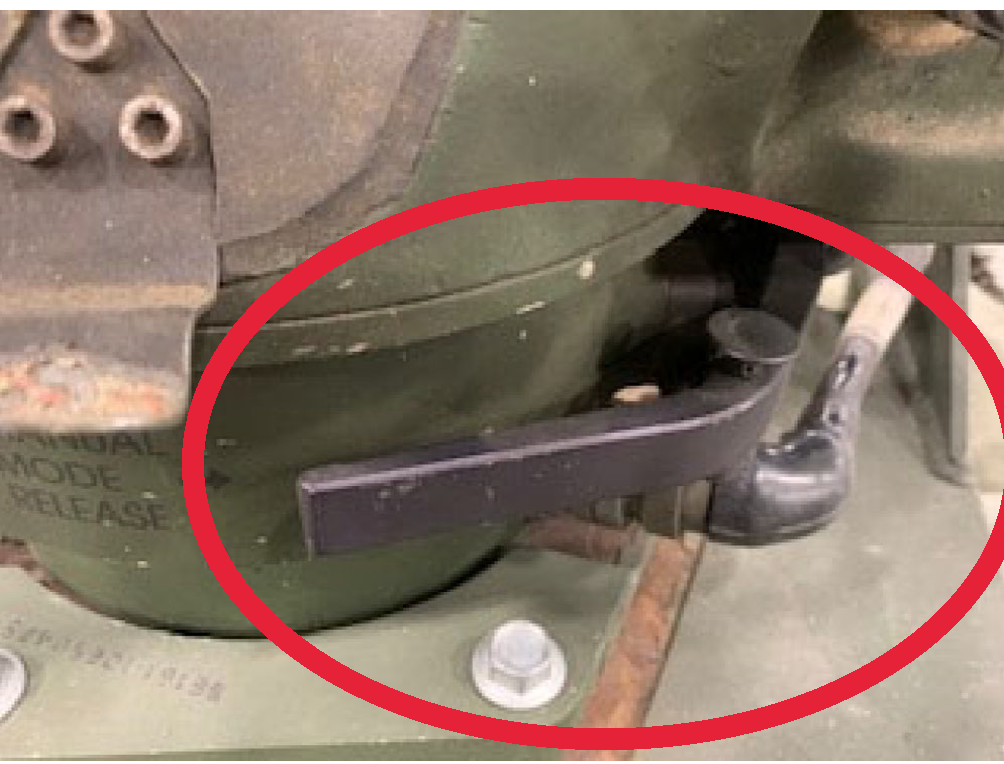 Azimuth clutch engaged
  Azimuth clutch disengaged
 When disengaging the elevation lock, apply downward pressure to the rear of the soft mount, then flip the elevation lock and pull the handle. Once the pin is out of the soft mount, turn the handle to the operation position. Don’t turn the handle before you pull it.
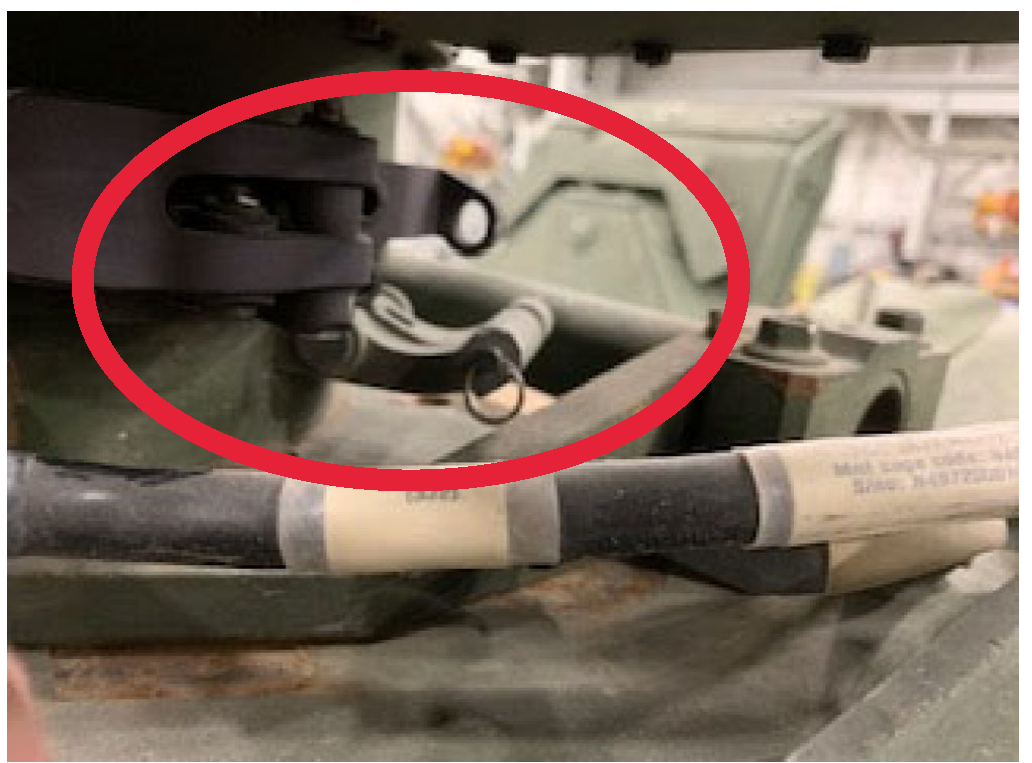 Be sure elevation lock is unlocked, in operation position before turning on RWS
Make sure the STORM is mounted properly by following the installation procedures in TM 9-2355-311-13&P. The biggest mistake when installing the STORM is bending the pins and not aligning the W19 connector properly on the back of the STORM. Make sure the STORM mount is grounded and be very careful while hooking up the two other connectors. The larger one plugs in and turns to lock while the small one requires the dots to align to each other.
Don’t twist the connectors or you’ll damage the W19 harness and break off the pins in the STORM. If that happens, you won’t know how far away your target is on the battlefield.
Note: The STORM-SLX, NSN 5855-01-646-5962, isn’t compatible with the Stryker’s RWS. The NSNs for the correct STORM versions for the Stryker are:
NSN 5855-01-5351905
NSN 5855-01-577-5946
NSN 5855-01-600-0486
Did you know looking up at the sun hurts your eyes and can even damage them if you look too long? Well, the same goes for the RWS’ thermal imaging module (TIM). Never point it directly at the sun! That can damage the reticle and the optics of the TIM.
Use the TIM lens cover, NSN 5340-25-150-4599, during daylight. The cover will also help keep out moisture that can cause video cloudiness and corrode the optics. If the TIM lens is cloudy, have field maintenance purge it with nitrogen at no more than 5 psi.
Transportation Tips
Power on the RWS when leaving the motor pool. This allows the electronics to stabilize the system and prevent damage.
If your Stryker is being transported for long distances on a train, truck, ship or plane, follow the stowage procedures in TM 9-2355-311-13&P.
Also, be sure to follow the TM procedures when setting the RWS back up once the transport is done. Make sure the azimuth and elevation locks are disengaged before powering up the RWS. If the locks are engaged and you power up the RWS, the elevation motor can burn up and the azimuth and main frame can be damaged.
The T-handle should be in operation mode when the RWS is powered on. And don’t forget to remove the “pork chop” (RWS sight clamp).
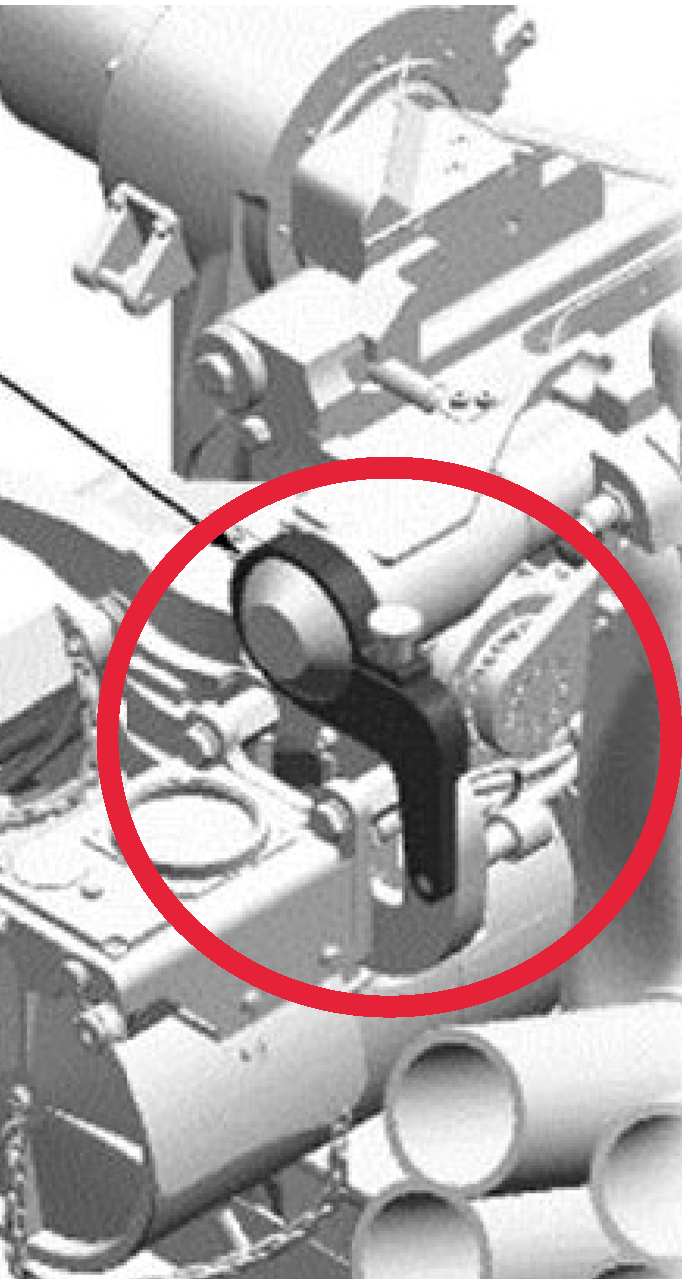
Remove "pork chop" before powering on RWS
Troubleshooting Tips
Here are some pointers to help your unit save some time and money.
- After replacing the fire control unit (FCU), main frame assembly (MFA), right side support assembly (RSSA) and the sight servo assembly (SSA), be sure to calibrate by setting the RWS at twelve o’clock (line up the little black lines).
- Running the correct software on your FCU is critical. If you don’t, your rounds will be off target. With newer software, you can use the initiated built-in test (IBIT) function on the RWS to help you troubleshoot. Your local LAR can help you learn how to use the IBIT function.
Here are a few other things that’ll help keep the RWS working like it should:
- For a “runaway” servo, make sure the azimuth and elevation clutch handles are engaged. The transportation locks should work correctly and be free from damage.
- Check the soft mount for damaged and/or bent weapon mount pins. If the pins won’t go all the way in and lock, as soon as the weapon is max elevated, the motor in the RSSA can burn out.
- Inspect the soft mount rail buffer bushings. If they’re not loose and able to spin freely, follow the procedures in TM 9-2355-311-13&P to adjust the soft mount friction brakes. You’ll need a special tool, NSN 5120-25-150-8919, to do this properly.